Raising a baby is one of life’s most rewarding journeys—but it also comes with its fair share of unexpected moments. From minor bumps and scrapes to fevers, allergic reactions, or even more serious emergencies, being prepared can make all the difference in ensuring your little one stays safe and healthy. That’s where a well-stocked baby first aid kit comes in. More than just a collection of bandages and ointments, a baby-specific first aid kit is a proactive tool that empowers parents to respond quickly and confidently to everyday health concerns.
In this comprehensive guide, we’ll walk you through six essential parts of creating and maintaining a baby-first aid kit—covering what to include, how to organize it, how often to update it, and why each item matters. Whether you're a new parent or a seasoned caregiver, this article will help you build a reliable safety net for your child from day one.
Why Every Parent Needs a Baby-Specific First Aid Kit
When it comes to babies, one-size-fits-all doesn’t apply—even to first aid. Infants have delicate skin, developing immune systems, and unique physiological needs that differ significantly from adults. For example, a baby’s body temperature regulation is less efficient, making them more prone to overheating or chilling quickly. Their skin is thinner and more sensitive, so common medications or treatments used for older children may not be appropriate—or safe—for infants.
A baby-first aid kit isn’t just about convenience—it’s about safety, speed, and appropriateness. Having the right tools on hand means you can address minor injuries or illnesses before they escalate. It gives peace of mind during those late-night feedings when your baby suddenly develops a fever, or during a car ride when a small cut appears after a tumble.
Moreover, having a dedicated kit helps reduce panic in emergency situations. When you know exactly where to find the thermometer, infant-safe pain reliever, or saline nasal spray, you’re better equipped to act calmly and effectively. This preparation is especially crucial if you’re a solo parent, a working parent, or someone who travels frequently with your baby.
Remember: prevention is key, but preparedness saves lives—and sometimes, it’s the difference between a quick fix and a trip to the ER.
Must-Have Items for a Baby’s First Aid Kit
The foundation of any effective baby first aid kit lies in its contents. Here’s a curated list of essential items tailored specifically for infants under one year old:
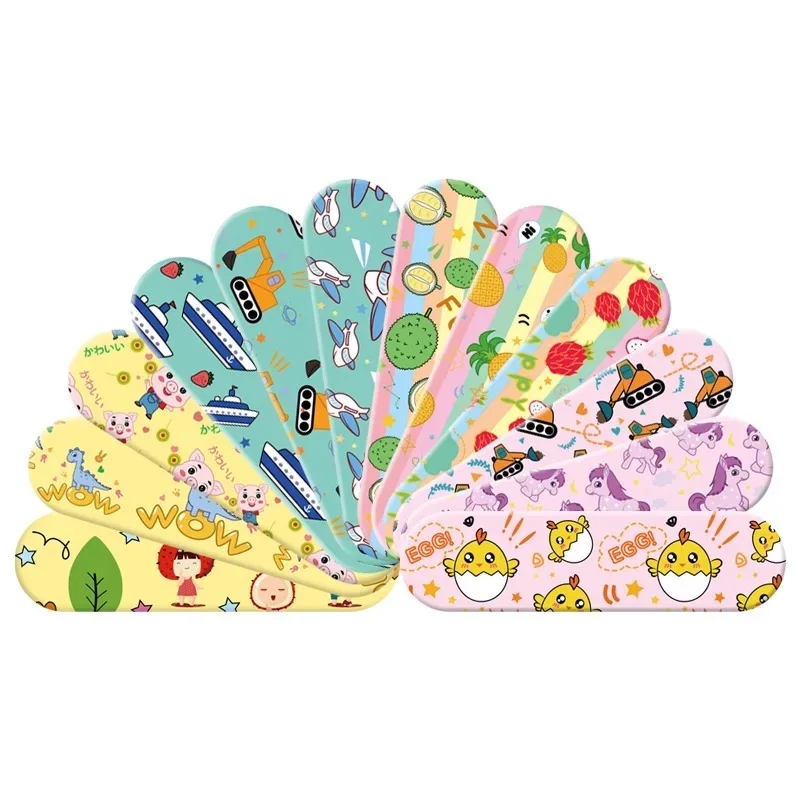
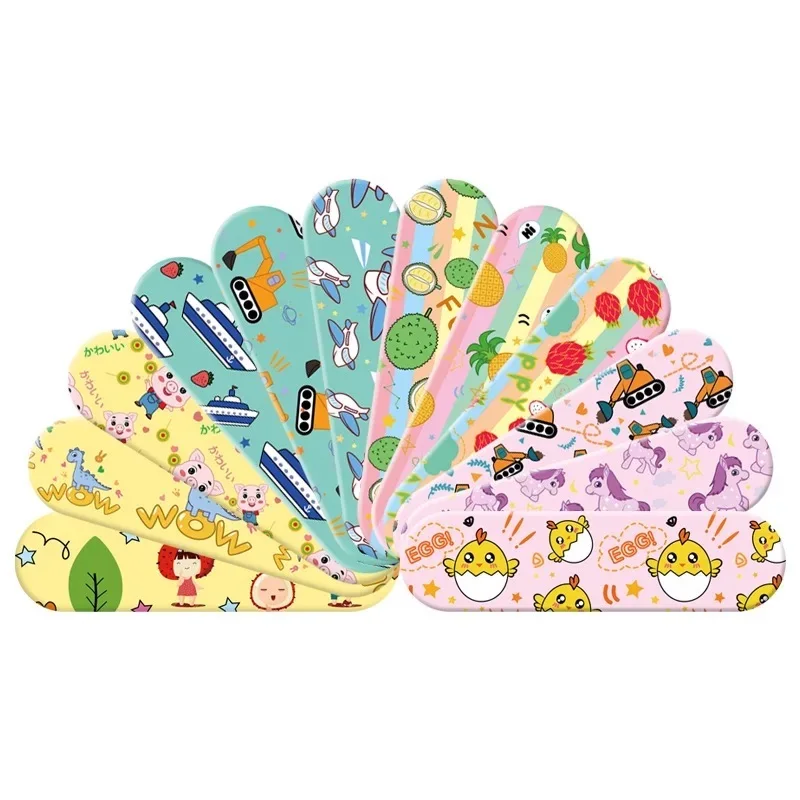
- Adhesive Bandages (Small Size) – Use non-latex, hypoallergenic strips designed for babies’ tiny fingers and toes. Avoid large bandages—they can be a choking hazard.
- Sterile Gauze Pads & Medical Tape – Ideal for covering larger cuts or abrasions gently without irritating sensitive skin.
- Antiseptic Wipes or Solution (Non-Alcohol-Based) – For cleaning minor wounds. Always choose alcohol-free options to avoid skin irritation.
- Baby-Safe Pain Reliever (Acetaminophen or Ibuprofen) – Only use under pediatrician guidance. Ensure it’s formulated for infants (e.g., liquid drops) and always check dosage based on weight.
- Digital Thermometer (Ear or Forehead Type) – Accurate and fast readings are vital when monitoring fevers in babies. Avoid mercury thermometers due to toxicity risks.
- Saline Nasal Spray or Drops – Helps clear congestion caused by colds—a common issue in babies who can’t blow their noses yet.
- Tweezers (Sterile, Fine-Tip) – Useful for removing splinters or ticks safely.
- Hydrocortisone Cream (Low Strength, 1%) – For mild rashes, eczema flare-ups, or insect bites. Use only as directed by a doctor.
- Calamine Lotion or Oatmeal Bath Mix – Soothes itching from chickenpox, heat rash, or poison ivy.
- First Aid Manual or Emergency Contact Card – Keep a printed copy of basic pediatric first aid steps and your pediatrician’s number nearby.
Bonus Tip: Include a small bottle of water and a few sterile cotton balls for cleaning ears or applying medication safely.
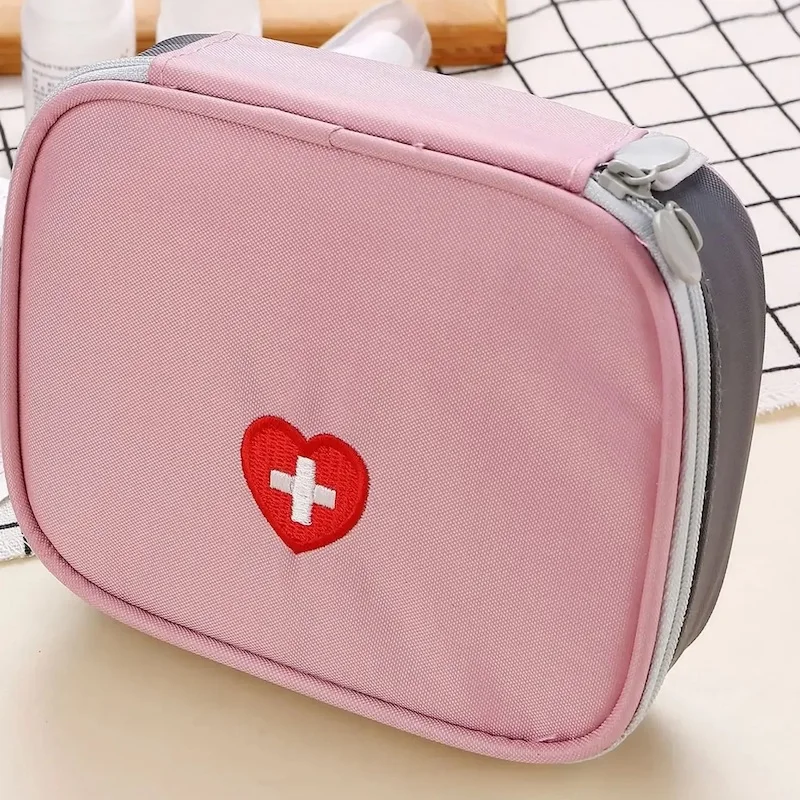
Each item should be chosen with baby safety in mind—not just functionality. For instance, opt for plastic tweezers over metal ones to prevent injury if dropped. Also, store everything in a sealed container labeled clearly as “For Babies Only.”
Organizing Your Kit for Quick Access
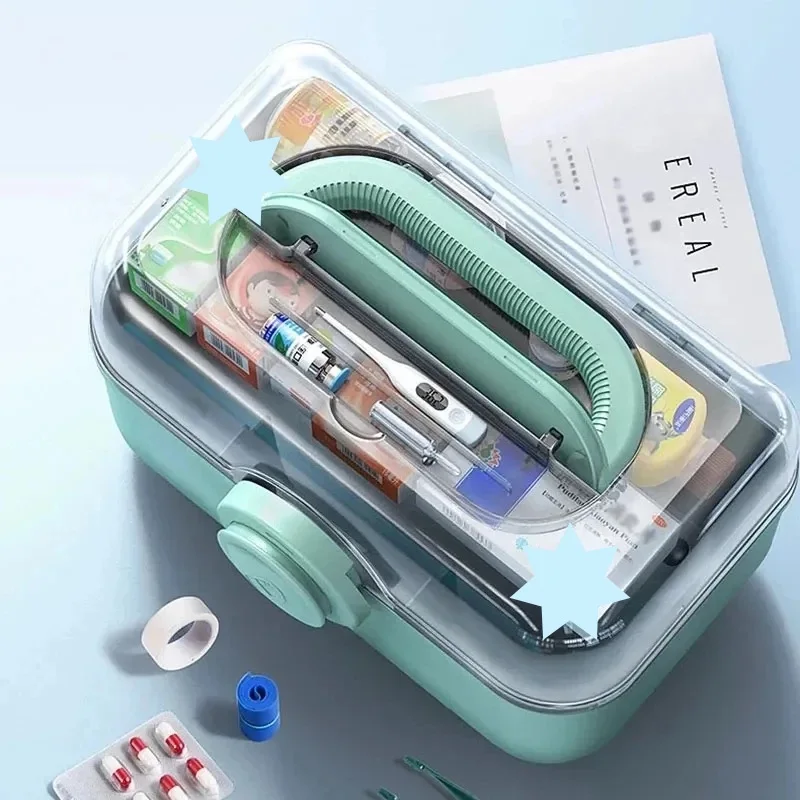
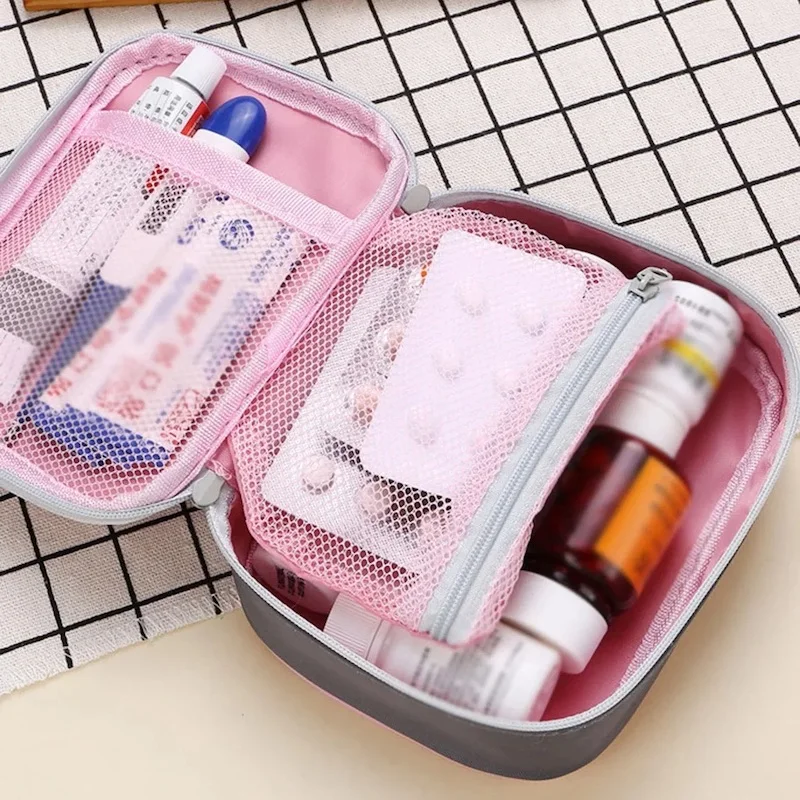
Having the right items isn’t enough—you need to know where they are at a moment’s notice. A disorganized kit defeats its purpose. Consider using a lightweight, waterproof tote bag or a dedicated first aid box with compartments.
Here’s how to structure your kit efficiently:
- Top Layer (Immediate Use): Place items you might need within minutes—like the thermometer, saline spray, and baby pain reliever—in an easily accessible pocket or compartment.
- Middle Layer (Common Issues): Store gauze, antiseptic wipes, hydrocortisone cream, and tweezers here.
- Bottom Layer (Less Frequent Use): Keep items like calamine lotion, oatmeal bath mix, and extra bandages in a separate section.
- Label Everything: Clearly label each compartment or pouch with pictures or words (“Fever,” “Cuts,” “Congestion”) so even a tired parent can find what they need quickly.
Pro Tip: Keep a duplicate kit in your car or at your daycare provider’s location. In case of emergencies while out, you won’t be caught unprepared.
Also, consider organizing by frequency of use rather than alphabetical order. If you’ve had three ear infections this winter, keep the antibiotic ear drops (if prescribed) front and center—not buried in a drawer.
Maintaining and Updating the Kit Regularly
A first aid kit isn’t static—it evolves with your baby’s growth and changing health needs. Just like updating your child’s wardrobe, you must regularly review and refresh your kit every 3–6 months.
Start with a monthly check:
- Verify expiration dates on medications (especially acetaminophen).
- Replace used items like gauze, bandages, or saline sprays.
- Clean and dry containers to prevent mold or contamination.
Every 3–6 months, do a full audit:
- Check if any items have been unused for too long—some products degrade over time even if unopened.
- Update dosing instructions based on your baby’s age and weight changes.
- Add new essentials: for example, once your baby starts teething, include a baby-safe teething gel or chilled teething ring.
- Remove outdated or expired items responsibly—don’t toss them in regular trash; some medications require special disposal.
If your baby has chronic conditions (like asthma, allergies, or eczema), tailor the kit accordingly. For example, include an EpiPen if prescribed, or a nebulizer for respiratory issues.
Keeping your kit current ensures it remains both effective and safe. Think of it as part of your baby’s health maintenance routine—not just a backup plan.
Common Baby Emergencies and How Your Kit Can Help
While many baby health issues are manageable at home, knowing how to respond quickly can prevent escalation. Here are three common scenarios where your first aid kit plays a critical role:
Fever Over 100.4°F (38°C):
- Use the digital thermometer to confirm.
- Administer baby-safe acetaminophen (per pediatrician guidelines).
- Dress baby lightly, offer fluids, and monitor closely.
- Kit Role: Fever-reducing medicine + thermometer = immediate relief and accurate tracking.
Minor Cuts or Scrapes:
- Clean the area gently with saline solution or antiseptic wipe.
- Apply gauze or a small bandage if needed.
- Watch for signs of infection (redness, swelling, pus).
- Kit Role: Antiseptic wipes + sterile gauze + hydrocortisone cream = quick wound care.
Allergic Reaction (Mild to Moderate):
- Look for hives, swelling, or vomiting after food exposure.
- If your baby has known allergies, administer prescribed antihistamines immediately.
- Call emergency services if breathing becomes difficult.
- Kit Role: Saline spray (for congestion), antihistamine (if prescribed), and contact info = early intervention.
Remember: A first aid kit supports you—it doesn’t replace professional medical advice. If symptoms persist or worsen, seek medical attention immediately. The goal is to stabilize until help arrives.
Final Tips for Peace of Mind and Proactive Care
Creating a baby-first aid kit is more than just packing supplies—it’s about building confidence as a parent. It signals that you’re prepared, thoughtful, and committed to your child’s well-being. Here are a few final tips to ensure your kit remains a valuable asset:
- Educate Yourself: Take a certified infant CPR and first aid course. Knowing how to respond to choking, drowning, or cardiac arrest can save lives.
- Keep It Portable: Invest in a compact, lightweight bag that fits in your diaper bag or car trunk. Don’t wait until you’re stranded to realize you forgot your meds.
- Involve Your Partner or Caregiver: Make sure everyone involved in your baby’s care knows where the kit is and how to use its contents.
- Stay Informed: Follow trusted pediatric sources (like the American Academy of Pediatrics) for updates on best practices and new recommendations.
- Don’t Panic—Act Calmly: When your baby is upset, your calm demeanor makes a huge difference. Practice using your kit at home so you feel confident during real emergencies.
Above all, remember that a well-prepared baby-first aid kit is not a sign of fear—it’s a symbol of love, responsibility, and readiness. You’re not just preparing for the worst; you’re empowering yourself to handle the everyday challenges of parenting with grace and confidence.
So go ahead—build your kit today. Your future self, and your precious little one, will thank you.
By following these six parts—from understanding the importance of baby-specific care to maintaining the kit regularly—you’ll be ready for whatever life throws your way. After all, the best gift you can give your baby is the peace of mind that comes from knowing you’re prepared.