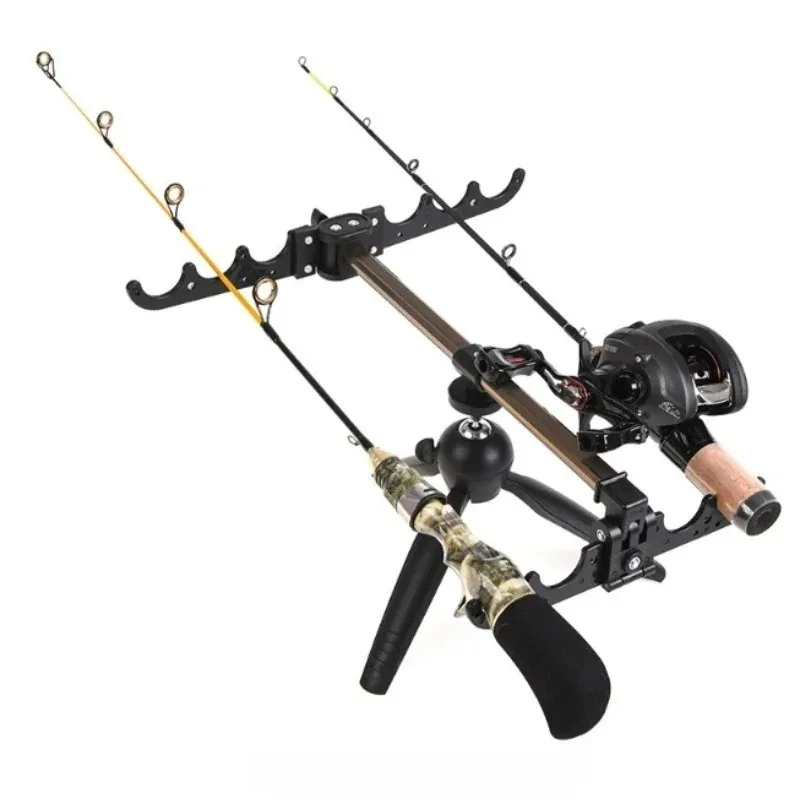
For both seasoned anglers and weekend hobbyists in the US, boat fishing offers a unique blend of relaxation and sport. However, holding your rod for hours can become tiring, especially when waiting for the perfect catch. That is why a fishing rod holder is not just an accessory—it’s a valuable addition that makes the entire experience more enjoyable.
Rod holders secure your gear in place, freeing your hands for other tasks such as steering, bait preparation, or simply enjoying the scenery. They also position your rod more effectively, which can improve hook placement and maximize your chances of catching fish.
Installing one on your boat may seem daunting at first, but with the right guide, you can handle it yourself. In this article, we will walk you through the process step-by-step, ensuring you get a well-secured rod holder that matches your boat’s setup and fishing style.
Choosing the Right Holder
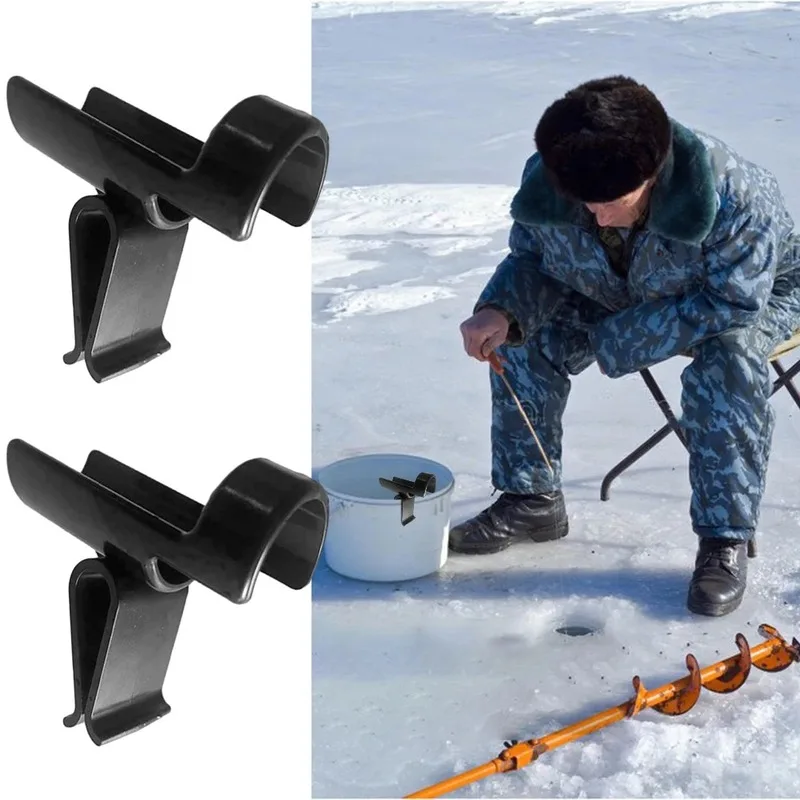
Before you start the installation, you must select the right fishing rod holder. The choice depends on the type of fishing you do and the design of your boat.
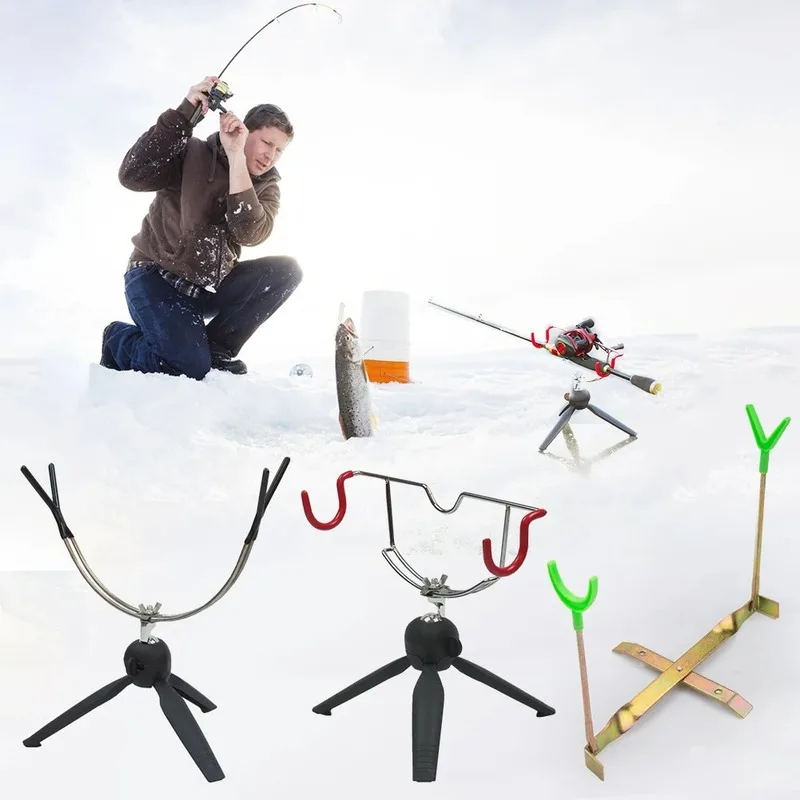
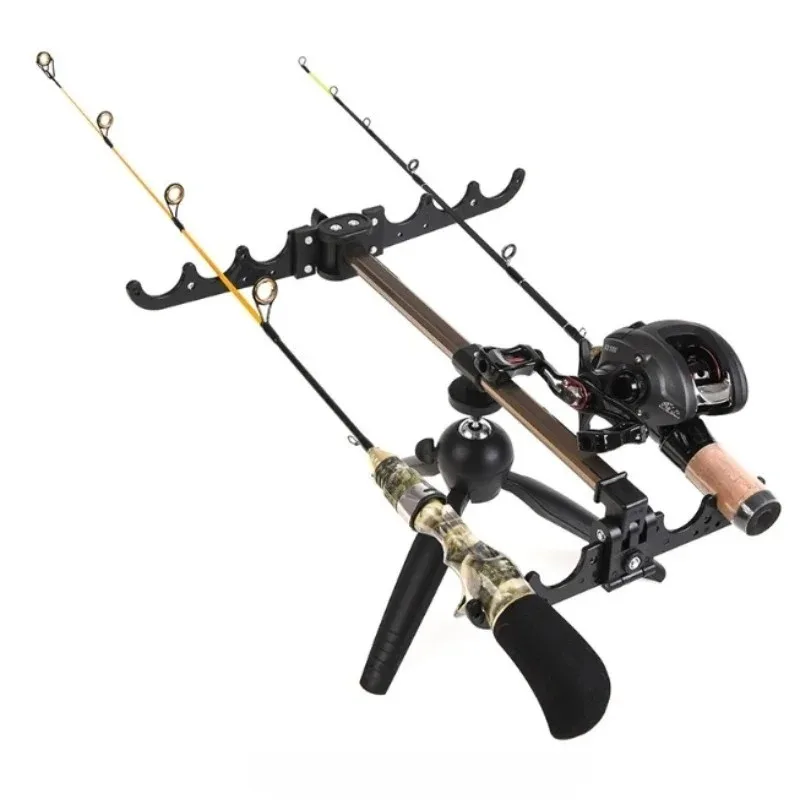
Flush-mount holders fit directly into the boat’s gunnel and are ideal for heavy-duty trolling. They offer a clean look but require cutting into your boat surface. Clamp-on holders attach without drilling, making them suitable for temporary setups or renters who cannot modify the boat. Adjustable holders allow you to change angles and positions depending on your fishing method.
Material selection matters too. Stainless steel provides durability and corrosion resistance, which is vital in saltwater conditions. Plastic holders are lightweight and affordable, but they may wear faster under heavy use. Considering your fishing frequency, conditions, and target species will help you pick a model that functions reliably.
Preparing Your Boat for Installation
Preparation is key to a smooth installation. First, identify the best location for your fishing rod holder. The spot should give easy access to the rod, avoid interference with other gear, and keep the rod clear of obstacles when casting or reeling.
Mark the installation points clearly using a marker. Check beneath the surface before drilling to ensure there are no wires, structural supports, or fuel lines that could be damaged.
You’ll need essential tools: a drill, screws or bolts recommended by the manufacturer, a screwdriver, and marine-grade sealant to prevent water intrusion. Laying out everything before you start saves time and reduces mistakes. This step sets the foundation for a secure fit that will not loosen when fighting a strong fish.
Installing a Flush-Mount Fishing Rod Holder
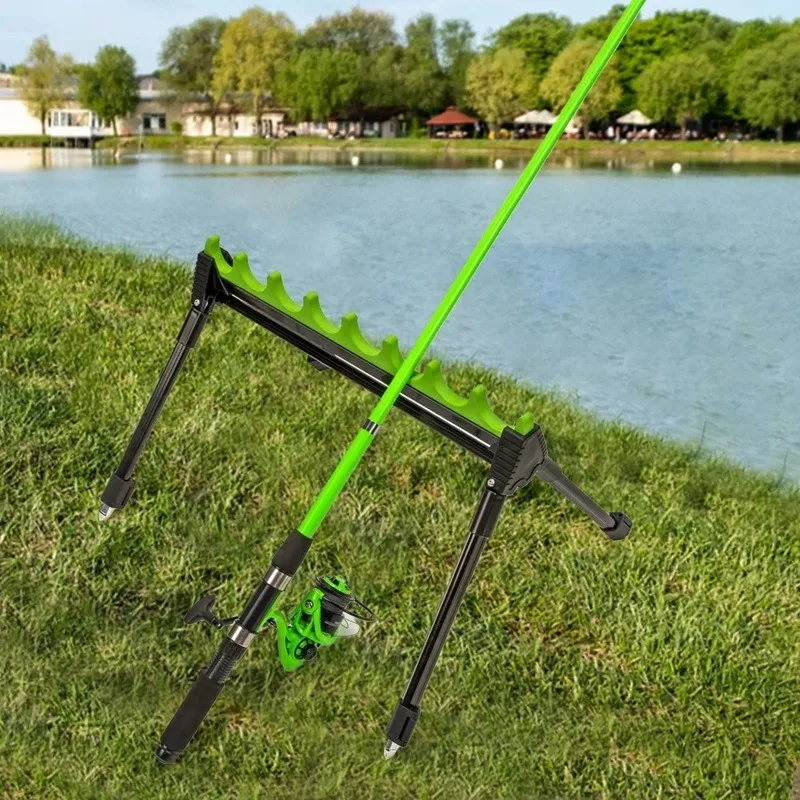
Installing a flush-mount fishing rod holder requires precision. Begin by drilling a pilot hole in the marked location to guide the larger cutting tool. Use a hole saw that matches the diameter recommended by the rod holder’s specifications.
Once the hole is cut, smooth its edges to prevent damage to your boat’s material. Apply a generous bead of marine-grade sealant around the opening to guard against water leakage. Insert the holder into the hole, aligning it for the desired angle, usually around 15 to 30 degrees for trolling.
Secure the holder with screws or bolts, tightening evenly to prevent stress on the boat’s surface. Wipe away excess sealant and allow it to cure before testing. The result should be a sturdy holder that feels integrated into the boat, ready for repeated fishing trips in varying conditions.
Setting Up a Clamp-On Fishing Rod Holder
For boaters who prefer a simpler approach or who cannot alter the vessel permanently, clamp-on holders are a smart choice. Position the clamp-on fishing rod holder on a flat, stable section of the boat’s railing or gunnel.
Adjust it to your preferred rod angle and tighten the clamp firmly, ensuring there is no wobble. Many clamp-on models include protective padding inside the clamp to prevent scratching your boat’s finish.
Because clamp-on holders can be moved, you can test different spots to find the most effective position for your fishing style. This flexibility makes them ideal for shared boats, rentals, or experimenting with new trolling patterns. The ease of installation means you can be ready in minutes without any drilling.
Testing and Adjusting Your Setup
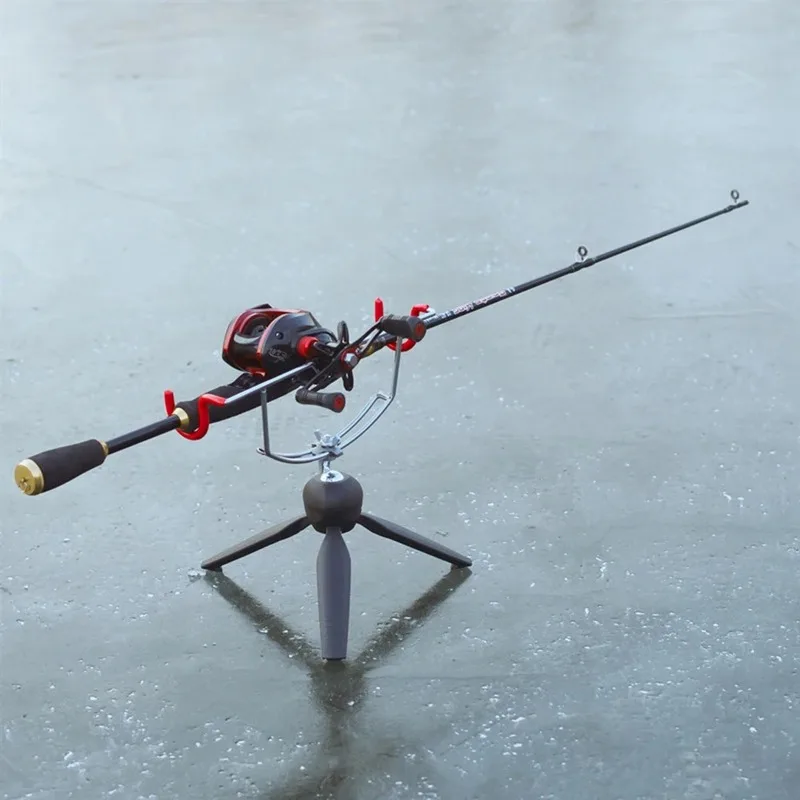
After installation, whether flush-mount or clamp-on, thorough testing is essential. Insert your fishing rod into the holder and simulate typical fishing movements such as casting, trolling, and reeling. Observe the holder’s stability and adjust angles if needed.
In rough waters or during a strong catch, the holder must withstand significant force. If you notice movement, tighten the fittings or reposition the mount. For flush-mount systems, ensure no water is leaking around the base by checking after running the boat in choppy conditions.
Regular inspection keeps your fishing rod holder functioning properly for the long term. A well-tested system ensures your rod stays secure, your hands remain free, and your fishing sessions are more productive and enjoyable.
Maintenance Tips for Longevity
Even the best installation will suffer without care. After each trip, rinse your fishing rod holder with fresh water to remove salt, dirt, and debris. For stainless steel models, occasional polishing can maintain their shine and prevent corrosion.
Check bolts, clamps, or screws periodically to ensure they remain tight. For clamp-on holders, examine the padding for wear and replace it when necessary to protect your boat’s finish.
In the US, boating across different climates and water types means your gear faces varied strain. Proper maintenance extends the life of your rod holder, ensuring it remains a reliable part of your boating and fishing experience. Small preventive actions can save larger replacement costs down the line.
Conclusion: Secure Your Fishing Experience
A properly installed fishing rod holder transforms your boat into a more efficient fishing platform. It gives your arms a rest, lets you multitask, and optimizes your rod positioning for better catches. Choosing the right holder, preparing carefully, and following correct installation steps are key to getting the most out of this upgrade.
For US anglers, investing time in installation pays off in every fishing trip. Whether you select a flush-mount for a seamless look or a clamp-on for flexibility, the result is a secure and functional accessory. Maintain it well, and it will serve you through countless outings, keeping your gear safe and your focus where it belongs—on the joy of fishing.