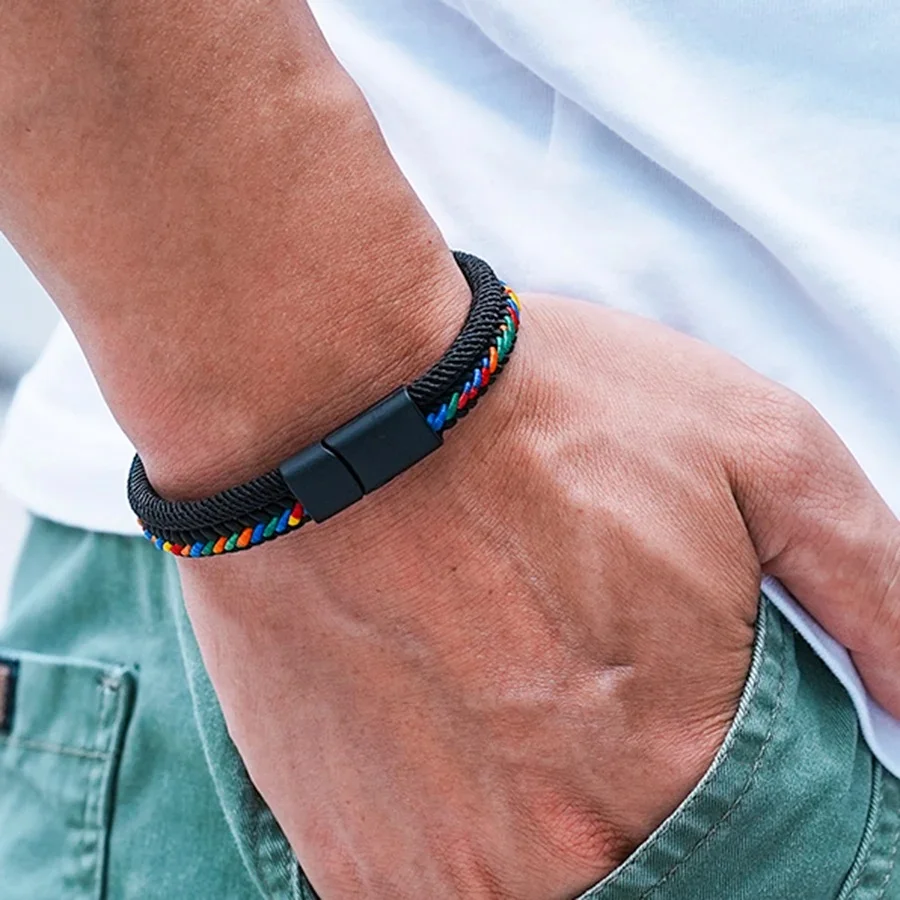
Why Make Your Own Stretch Bracelet? – More Than Just a Craft Project
Personalization and Meaning – Create Something That Reflects You
Making your own stretch bracelet allows you to design something deeply personal—whether it’s a tribute to a loved one, a representation of your favorite colors, or a symbol of intention (like “gratitude,” “strength,” or “peace”). Unlike store-bought jewelry, each piece tells a story. You can choose beads that represent milestones, birthstones, or cultural symbols—making the bracelet not just wearable art, but a meaningful keepsake.
Skill Development and Creative Freedom – Learn, Experiment, and Grow
How to make a stretch bracelet? This craft is accessible to beginners yet offers room for growth. Once you master the basic knotting technique, you can explore advanced designs like multi-strand bracelets, layered cuffs, or even beaded charms. The process builds patience, fine motor skills, and confidence in creating handmade items. Plus, you’ll gain the satisfaction of knowing exactly what went into your creation—from materials to final knot—making every finished piece feel special.
Tools and Materials You’ll Need – What’s Essential vs. Optional
Must-Have Essentials – Cord, Beads, Needle, and Scissors
Start with these core supplies:
- Stretch cord (0.7mm thickness is ideal for beginners—it’s strong yet flexible)
- Beads (glass, crystal, wood, or gemstone; ensure holes are large enough for the cord)
- Sharp needle (a thin, blunt-tipped needle works best—no sharp points to damage the cord)
- Scissors (for clean, precise cuts)
These basics let you create a secure, professional-looking bracelet without needing expensive tools.
Helpful Add-Ons – Crimps, Clasps, and Glue for Extra Security
For added durability or style, consider:
- Crimp tubes (tiny metal sleeves that lock the cord ends—great for heavier beads)
- Clasp hardware (e.g., toggle or lobster clasp for adjustable or removable bracelets)
- E6000 glue or clear nail polish (to seal knots and prevent fraying)
These extras aren’t necessary for simple loops but help extend wear time—especially if the bracelet will be worn daily or during active use.
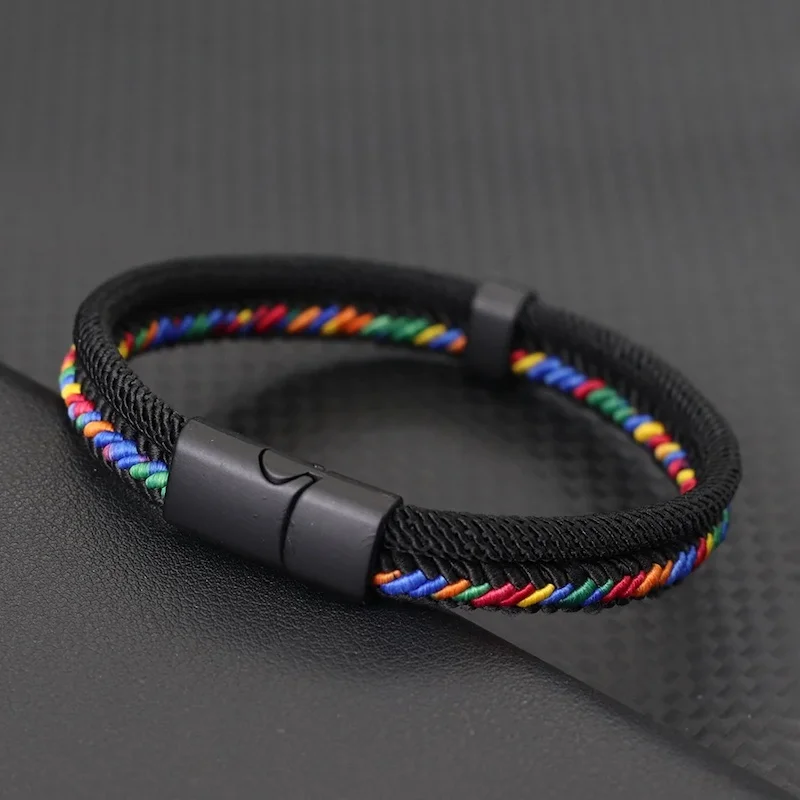
Choosing the Right Beads – Design, Size, and Compatibility
Types of Beads – From Glass to Gemstone and Everything In Between
Beads come in countless materials:
- Glass beads (smooth, affordable, and available in endless colors)
- Gemstone beads (natural stones like amethyst, turquoise, or rose quartz—often chosen for their metaphysical properties)
- Wooden beads (eco-friendly, lightweight, and warm-toned)
Choose based on your aesthetic and purpose—e.g., colorful glass for fun, gemstones for healing, or wooden for minimalist vibes.
Bead Size and Hole Diameter – Ensuring a Smooth Fit
Not all beads are created equal—some have tiny holes that won’t fit standard stretch cord. Look for beads labeled “stretch cord compatible” or test by threading a small piece of cord through the hole before buying. For beginners, use beads with 1–2mm holes and avoid overly large or irregular shapes that may cause uneven tension or snagging during wear.
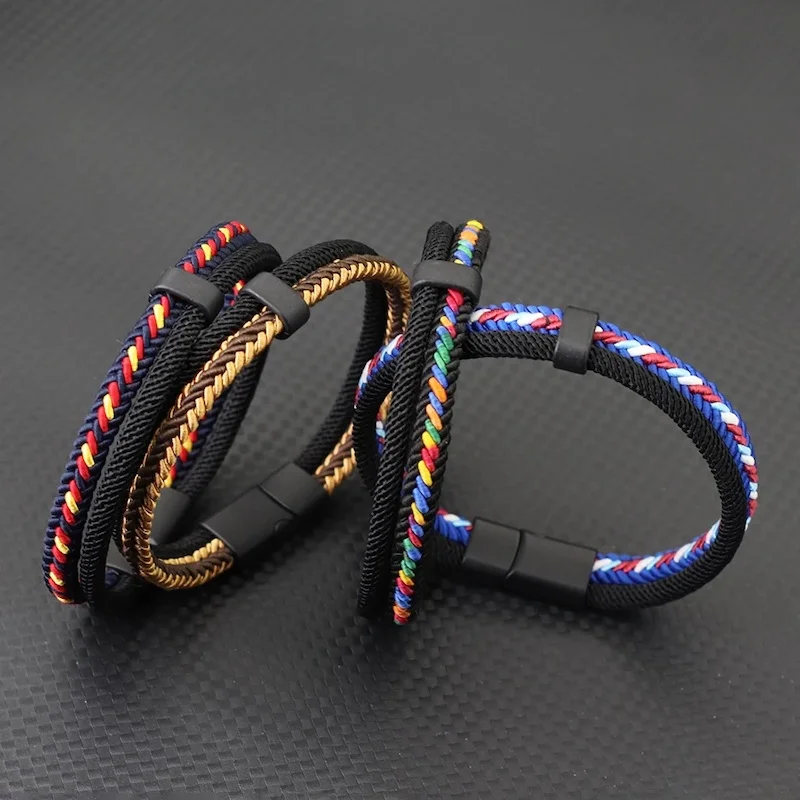
Step-by-Step Instructions – How to Make a Simple Loop Bracelet
Measuring, Cutting, and Threading – Preparing Your Components
How to make a stretch bracelet? Measure your wrist (or the intended wearer’s) and add 2–3 inches for tying. Cut the cord using sharp scissors. Thread one end through a needle, then pass it through the first bead hole—this makes threading easier and prevents kinking. String beads in your desired pattern until you reach the final bead. Leave about 3–4 inches of cord at the end for tying the knot securely.
Tying the Knot – The Double Overhand Method for Longevity
Once all beads are strung, bring both ends together to form a loop. Hold the loop so beads rest comfortably on your palm. Now, tie a double overhand knot:
- Cross the two ends to form an “X”
- Pull one end through the loop created by the “X”
- Repeat the same step again for extra strength
- Gently tug to tighten—but don’t pull too hard or you’ll break the cord
- Trim excess cord carefully (leave about ¼ inch)
This method ensures the bracelet won’t unravel easily during regular wear.
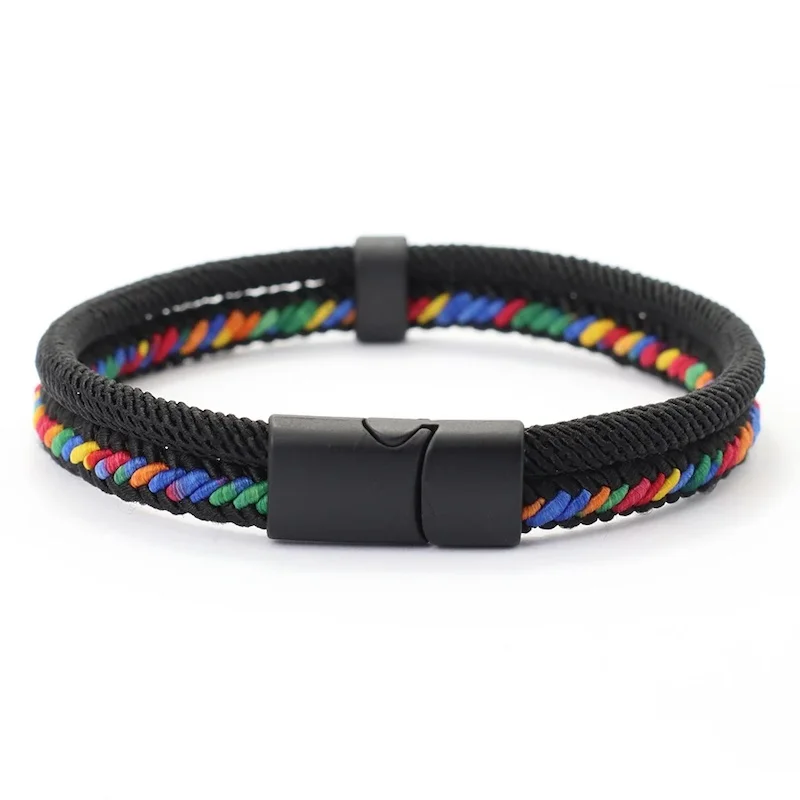
Advanced Techniques – Adding Crimps, Clasps, or Multi-Layer Designs
Using Crimp Tubes for Heavier Beads – A Professional Touch
If you’re using heavier beads (like stone or metal), crimp tubes provide superior strength. After forming your loop, thread one end through a crimp tube, then back through the last bead. Pull tight, then use crimping pliers to flatten the tube—this locks the cord in place. Repeat on the other side for a seamless, durable finish. This technique is perfect for handmade jewelry that will be worn regularly or gifted.
Creating Adjustable or Layered Bracelets – For Style and Functionality
Want more flexibility? Try an adjustable bracelet: tie a small knot near one end, then slide a bead onto the cord before tying the second knot. This allows the wearer to customize the fit. For layered looks, make multiple thin bracelets (using different colors or themes) and wear them stacked—great for fashion statements or mindfulness practices (e.g., each layer represents a different intention).
Troubleshooting Common Issues – Fixing Mistakes and Making It Last Longer
Problems Like Slipping Knots or Broken Cords – Solutions That Work
If your knot slips after a few wears, try tying a slip knot (also called a “barrel knot”) instead—it’s tighter and less likely to loosen. If the cord breaks mid-use, inspect the area for sharp edges or rough beads that might have caused friction. Replace damaged beads or switch to a smoother cord material. Always store finished bracelets in a soft pouch to prevent tangling or scratching.
Preventing Wear and Tear – Maintenance Tips for Long-Lasting Beauty
To extend the life of your stretch bracelet:
- Avoid exposing it to water, lotions, or perfumes—these can weaken the cord over time
- Remove it before showering, swimming, or sleeping
- Clean with a damp cloth only—never soak or scrub aggressively
- Re-tie knots every few months if worn daily (especially if you notice loosening)
With proper care, a well-made stretch bracelet can last 6–12 months—or even longer—with minimal maintenance.
Conclusion: A Skill That Builds Confidence and Creativity
Learning how to make a stretch bracelet is more than a craft—it’s a gateway to self-expression, mindfulness, and thoughtful gifting. Whether you’re creating a simple loop for yourself or crafting a meaningful piece for someone special, this skill teaches patience, attention to detail, and the joy of making something uniquely yours. With practice, you’ll master the basics and explore advanced techniques that turn ordinary beads into wearable art. So next time you see a beautiful bracelet, remember: it wasn’t magic—it was craftsmanship. And now, you can do it too.