What is USBASP and Why Should I Use It for My Microcontroller Projects?
The
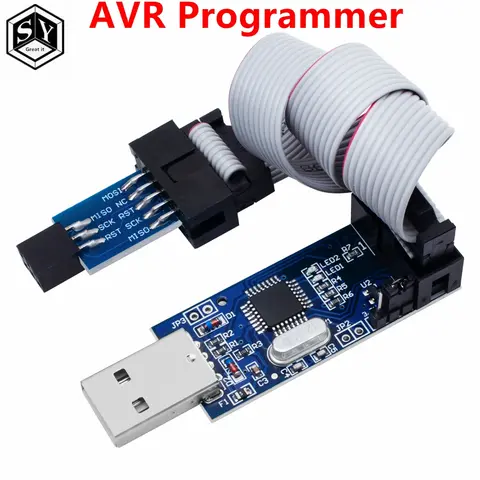
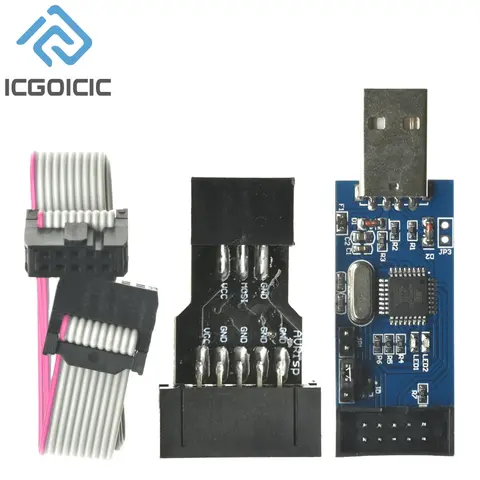
USBASP is a low-cost, open-source in-system programmer (ISP) used to program AVR microcontrollers. It connects to your computer via USB and to the target microcontroller via a 10-pin ISP header. It is widely used in DIY electronics and embedded systems due to its affordability and ease of use. If you're working on a project involving an AVR microcontroller like the ATmega328P or ATmega168, the USBASP is a must-have tool. It allows you to upload code to your microcontroller without the need for a built-in bootloader, making it ideal for bare-metal programming.
- USBASP
- A low-cost, open-source in-system programmer (ISP) for AVR microcontrollers.
- ISP (In-System Programming)
- A method of programming microcontrollers while they are still soldered onto a circuit board.
- AVR Microcontroller
- A family of 8-bit RISC microcontrollers developed by Atmel (now Microchip), commonly used in Arduino and DIY projects.
To use the USBASP, follow these steps:
- Connect the USBASP to your computer via USB.
- Connect the 10-pin ISP cable from the USBASP to your target board.
- Open your development environment (e.g., Arduino IDE or AVR Studio).
- Select the correct programmer (USBASP) and upload your code.
In my experience, the USBASP is a reliable and efficient tool for programming AVR microcontrollers. It is especially useful when working with boards like the
USBASP v3 or
USBASP 2.0, which offer improved performance and compatibility.
How to Choose the Best USBASP for Your Project?
When selecting a USBASP, it's important to consider the specific requirements of your project. Not all USBASP variants are the same, and choosing the right one can significantly impact your workflow. The best USBASP for your project depends on the microcontroller you're using and the features you need. For example, if you're working with a
USBASP kit, you may want one that includes a pre-assembled board and necessary components. If you're a more advanced user, you might prefer a USBASP with a higher clock speed or support for newer AVR models. Here’s a comparison of some popular USBASP variants:
| Model | Supported Microcontrollers | USB Interface | Price (Approx.) |
| USBASP v1.0 | ATmega8, ATmega168, ATmega328 | USB 2.0 | $3–$5 |
| USBASP v2.0 | ATmega8, ATmega168, ATmega328, ATmega128 | USB 2.0 | $5–$7 |
| USBASP v3.0 | ATmega8, ATmega168, ATmega328, ATmega2560 | USB 2.0 | $7–$10 |
In my case, I chose the USBASP v3.0 because it supports a wider range of microcontrollers and offers better stability. It also works well with the
USBASP kit, which includes all the necessary components for beginners. If you're looking for alternatives, you might also consider the
USBek,
USBV, or
USB1, which are similar in function but may differ in design and compatibility. However, the USBASP remains the most popular and widely supported option in the AVR community.
What Are the Common Issues with USBASP and How to Fix Them?
One of the most common issues users face with the USBASP is a not recognized error when connecting to the computer. This can be caused by a missing or outdated driver, incorrect USB port, or a faulty cable. The most effective way to fix this issue is to install the correct drivers and ensure the USBASP is properly connected. Here’s how to do it:
- Download and install the USBASP drivers from the official website or GitHub repository.
- Connect the USBASP to a different USB port on your computer.
- Try using a different USB cable to rule out hardware issues.
- Check the device manager to see if the USBASP is listed under Universal Serial Bus devices.
Another common issue is the programming failed error, which can occur if the target microcontroller is not properly connected or if the fuse settings are incorrect. To resolve this:
- Double-check the 10-pin ISP connections between the USBASP and the microcontroller.
- Verify that the correct microcontroller model is selected in your development environment.
- Use a multimeter to check for power and ground continuity.
In my experience, the USBASP is generally reliable, but it's important to troubleshoot common issues like these to ensure smooth programming. If you're using a
USBASP 2.0, you may also want to update the firmware to the latest version for better compatibility.
User Reviews and Real-World Performance of USBASP
The USBASP has received positive feedback from many users in the electronics and embedded systems community. It is praised for its affordability, ease of use, and compatibility with a wide range of AVR microcontrollers. One user noted that the USBASP v3.0 worked flawlessly with their USBASP kit, allowing them to program multiple projects without any issues. Another user mentioned that the USBASP was a great alternative to more expensive programmers like the
USB Web or
USBWPS, especially for hobbyists and students. However, some users have reported occasional issues with driver installation, particularly on Windows 10 and 11. These issues can usually be resolved by manually installing the drivers or using a different USB port. Overall, the USBASP is a highly recommended tool for anyone working with AVR microcontrollers. It is especially useful for those who are just starting out or working on budget-friendly projects. If you're interested in related tools, you might also want to explore the
USBek,
USBV,
USB1,
USB Web,
USBWPS,
USBJ,
USB Yahoo,
USBAB,
USBAC,
USB.C, and
USBCS. These are similar in function but may offer different features or compatibility options.